
How to Edit Wedding Templates in Canva (A Beginner’s Guide)
This post contains affiliate links. I may earn a small commission if you make a purchase through these links, at no extra cost to you.
Your simple, step-by-step walkthrough to personalising your wedding stationery — no design experience required.
Planning a wedding comes with a lot of decisions, and DIY stationery can feel like one step too far. But if you’ve chosen an editable wedding template in Canva, you’ve already done the hard part. Editing it is much easier than you think.
Just like Weddible’s approach to DIY wedding stationery — focusing on what you actually need and skipping the unnecessary overwhelm — this guide breaks the process down into simple, manageable steps. Whether you’re editing invitations, RSVP cards, menus or signage, the basics stay the same.
Why Canva Wedding Templates Are Ideal for Beginners
Canva templates are popular for a reason. They allow you to create beautiful, cohesive wedding stationery without starting from scratch or learning complicated design software.
With a Canva template, you can:
personalise text with your own wedding details
change fonts and colours to suit your style
swap images or graphics
download files ready for printing or sharing digitally
Everything is done through simple clicks and drag-and-drop tools, making Canva ideal if you’ve never designed anything before.
Step-by-Step: How to Edit Your Wedding Template in Canva
1. Open Your Template
First, log in to your Canva account. A free account is usually all you need.
If you’ve purchased a template, open the link provided in the download file. This will automatically open the design in Canva and create an editable copy saved to your account. You can always find it again under “Recent designs” or “Your projects”.
2. Edit the Text
Start by replacing the placeholder text with your own wedding details. This usually includes:
your names
wedding date and time
ceremony and reception locations
RSVP information
To edit text, simply click on a text box and type. Use the top toolbar to adjust font style, size, spacing and alignment.
A good rule of thumb is to keep wording clear and easy to read, especially for important details like dates and addresses.
3. Change Fonts and Colours
Fonts and colours have a big impact on the overall feel of your stationery.
To change a font:
click on a text box
choose a new font from the top menu
To change colours:
select the text or element
click the colour swatch in the toolbar
choose from the palette or enter a specific colour code
Try to stick to two or three colours to keep everything looking cohesive across your stationery suite.
4. Replace Images or Graphics
If your template includes images or illustrations you want to change, Canva makes this very straightforward.
To upload your own image:
click “Uploads” in the side menu
upload your photo
drag it directly over the existing image to replace it
You can also browse Canva’s built-in graphics and photos if you want to add decorative elements or remove images altogether for a more minimal look.
5. Move and Resize Elements
One of the best things about Canva is how flexible it is.
You can:
drag elements to reposition them
resize text boxes or images using the corner handles
use Canva’s alignment guides to keep everything neat
If something doesn’t feel quite right, trust your instinct and adjust it. There’s no right or wrong here.
6. Final Checks Before Downloading
Before you download or print your stationery, take a few minutes to double-check everything.
Make sure:
names, dates and locations are correct
spelling and punctuation are accurate
font sizes are readable, especially for print
It’s also a good idea to step away and look again later, or ask someone else to proofread for you.
Downloading and Printing Your Design
Once you’re happy with your design:
click “Share”, then “Download”
choose PDF for printing
choose PNG or JPG for digital invitations or signage
You can print your designs at home, use a professional printer, or order prints directly through Canva if that’s easier.
Common Beginner Questions
Do I need Canva Pro?
In most cases, no. Many wedding templates are designed to work perfectly with Canva’s free version. Canva Pro templates do, however, offer access to a wider range of fonts, graphics and premium design elements if you want more flexibility.
Can I use these templates for digital invitations?
Yes. Simply download your design as an image or share a digital link.
How do I keep everything matching?
Duplicate your design and reuse fonts, colours and layout elements across all your stationery pieces.
Final Thoughts
Editing wedding templates in Canva is far less complicated than it first appears. Once you understand the basics, it becomes an enjoyable part of the planning process rather than another task on the to-do list.
Focus on the stationery you actually need, personalise it in a way that feels true to you, and don’t overthink the details. Simple, clear and thoughtfully designed stationery is always enough.
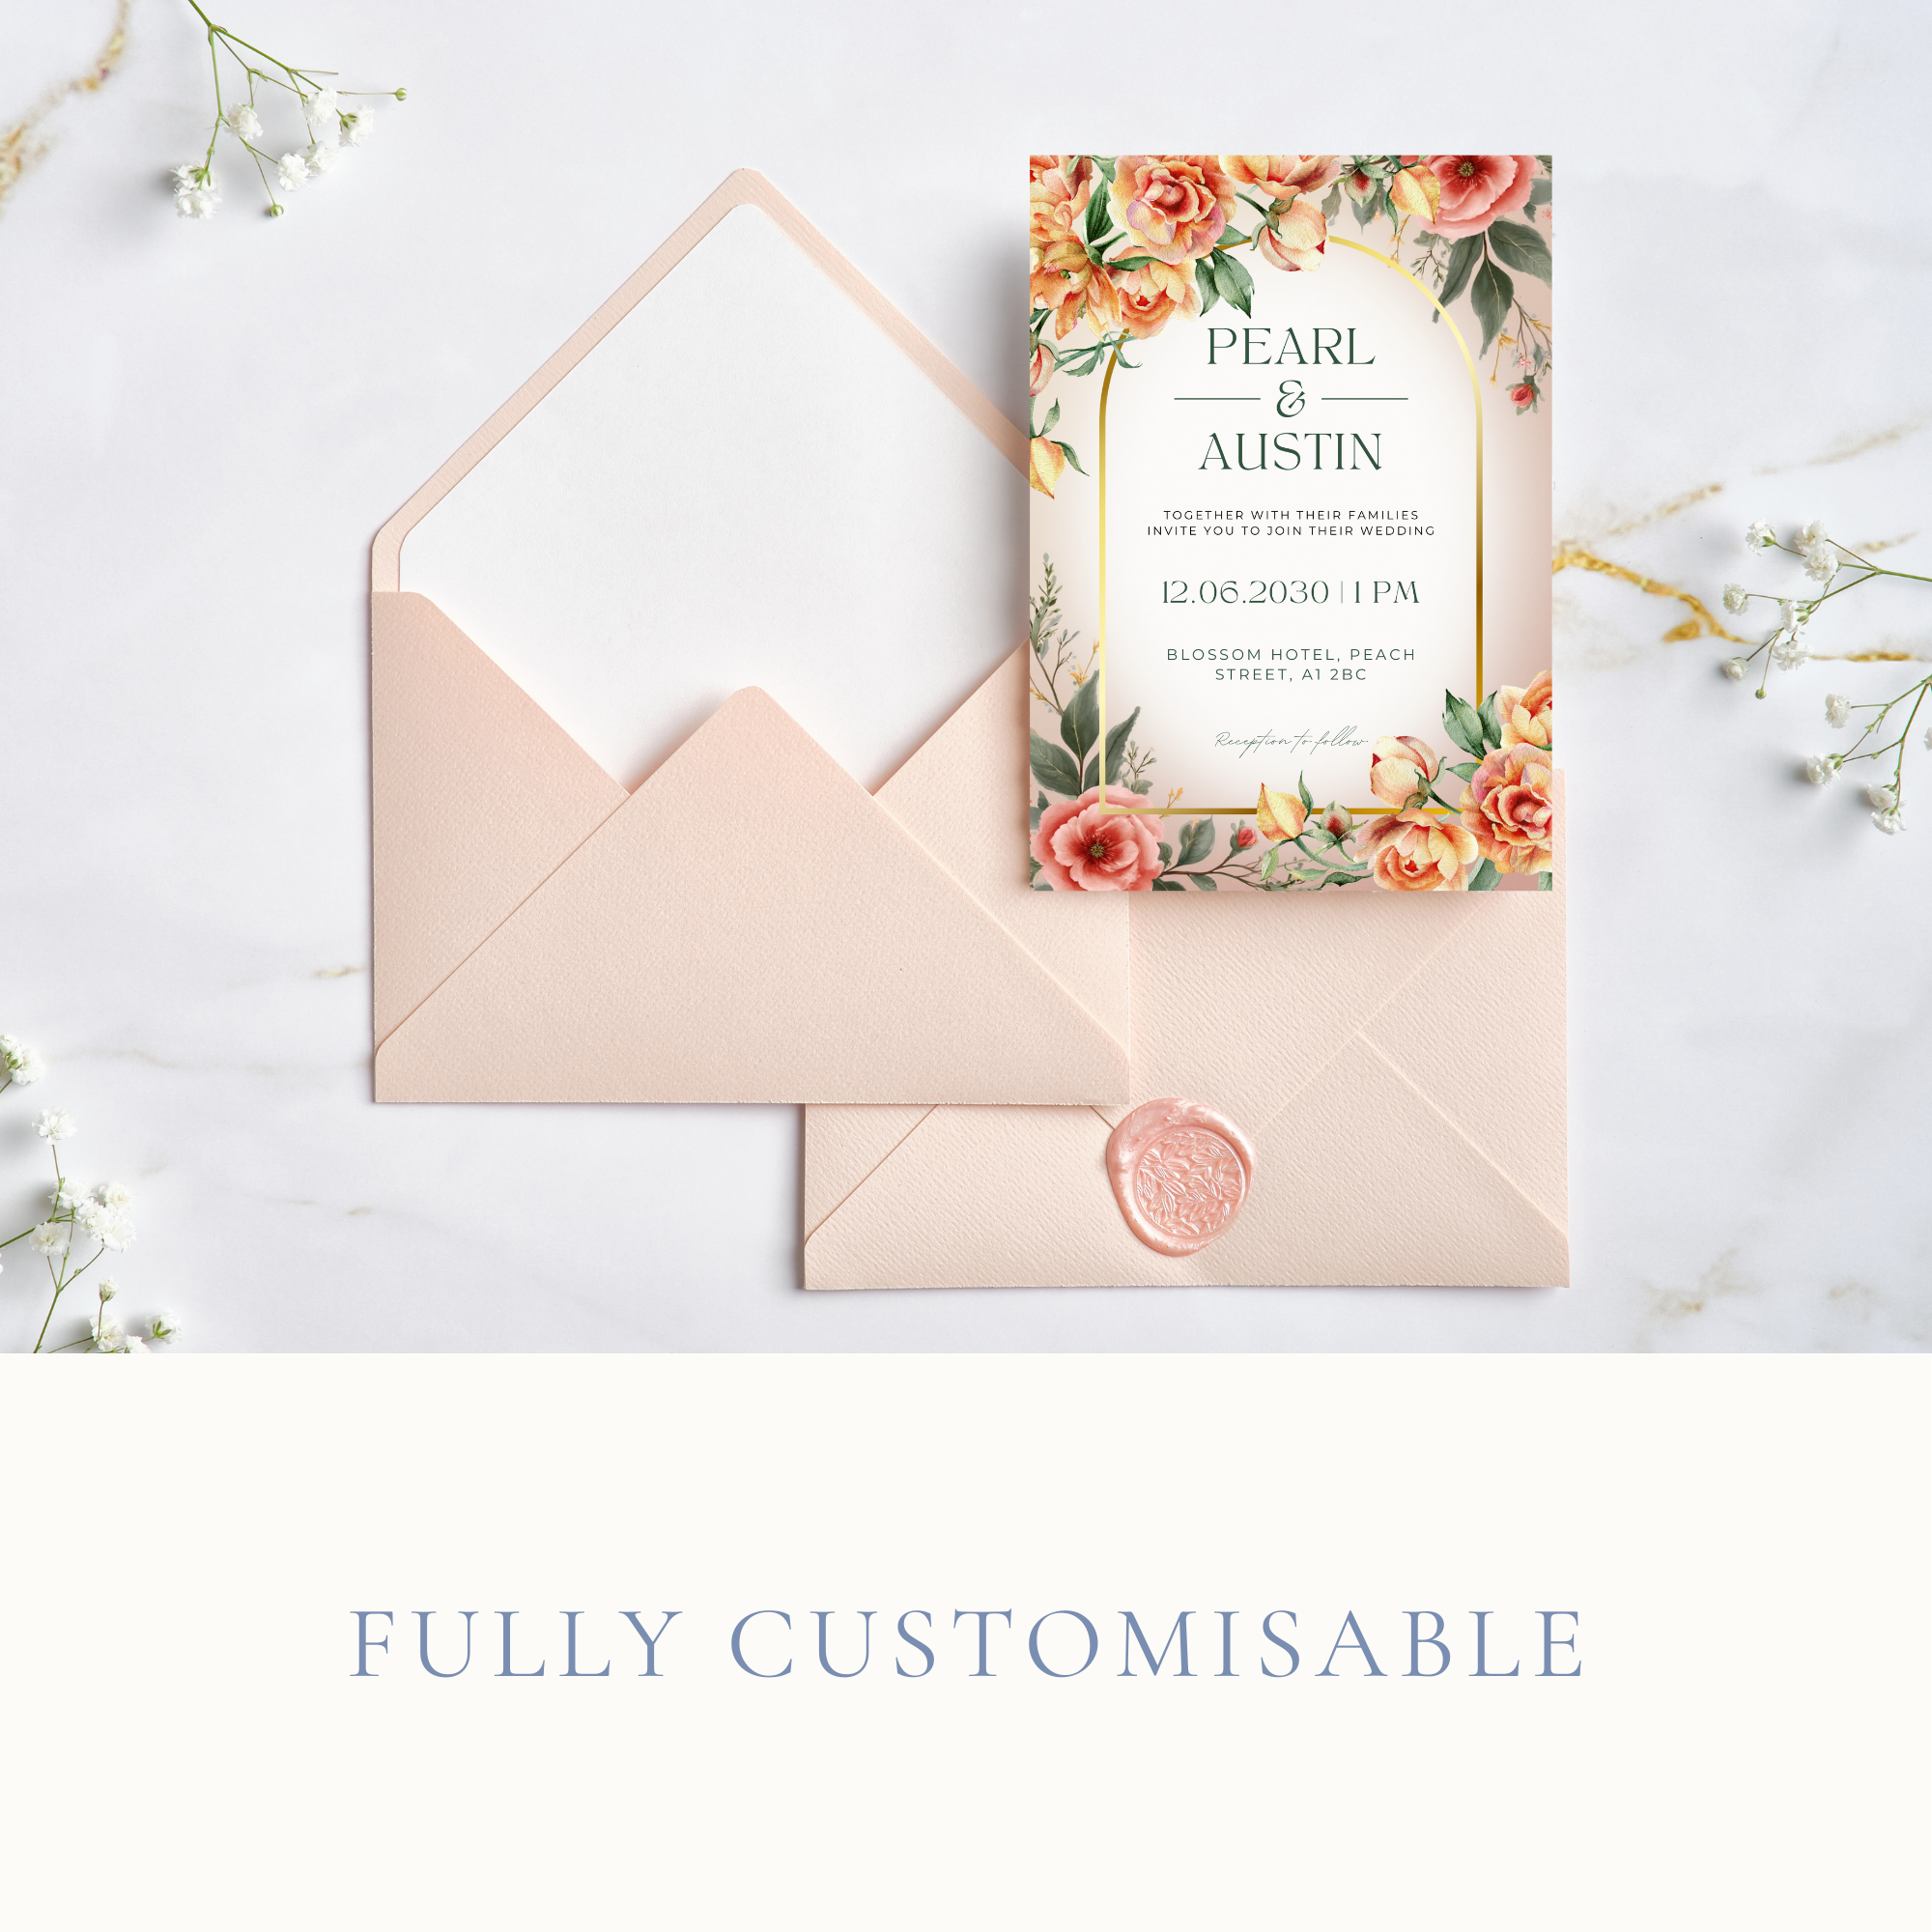
peach floral wedding invitation suite
Other posts you might like:
This checklist covers what you actually need, what’s optional, and what most couples can skip entirely.