
How to Print Wedding Invitations at Home (Step by Step)
This post contains affiliate links. I may earn a small commission if you make a purchase through these links, at no extra cost to you.
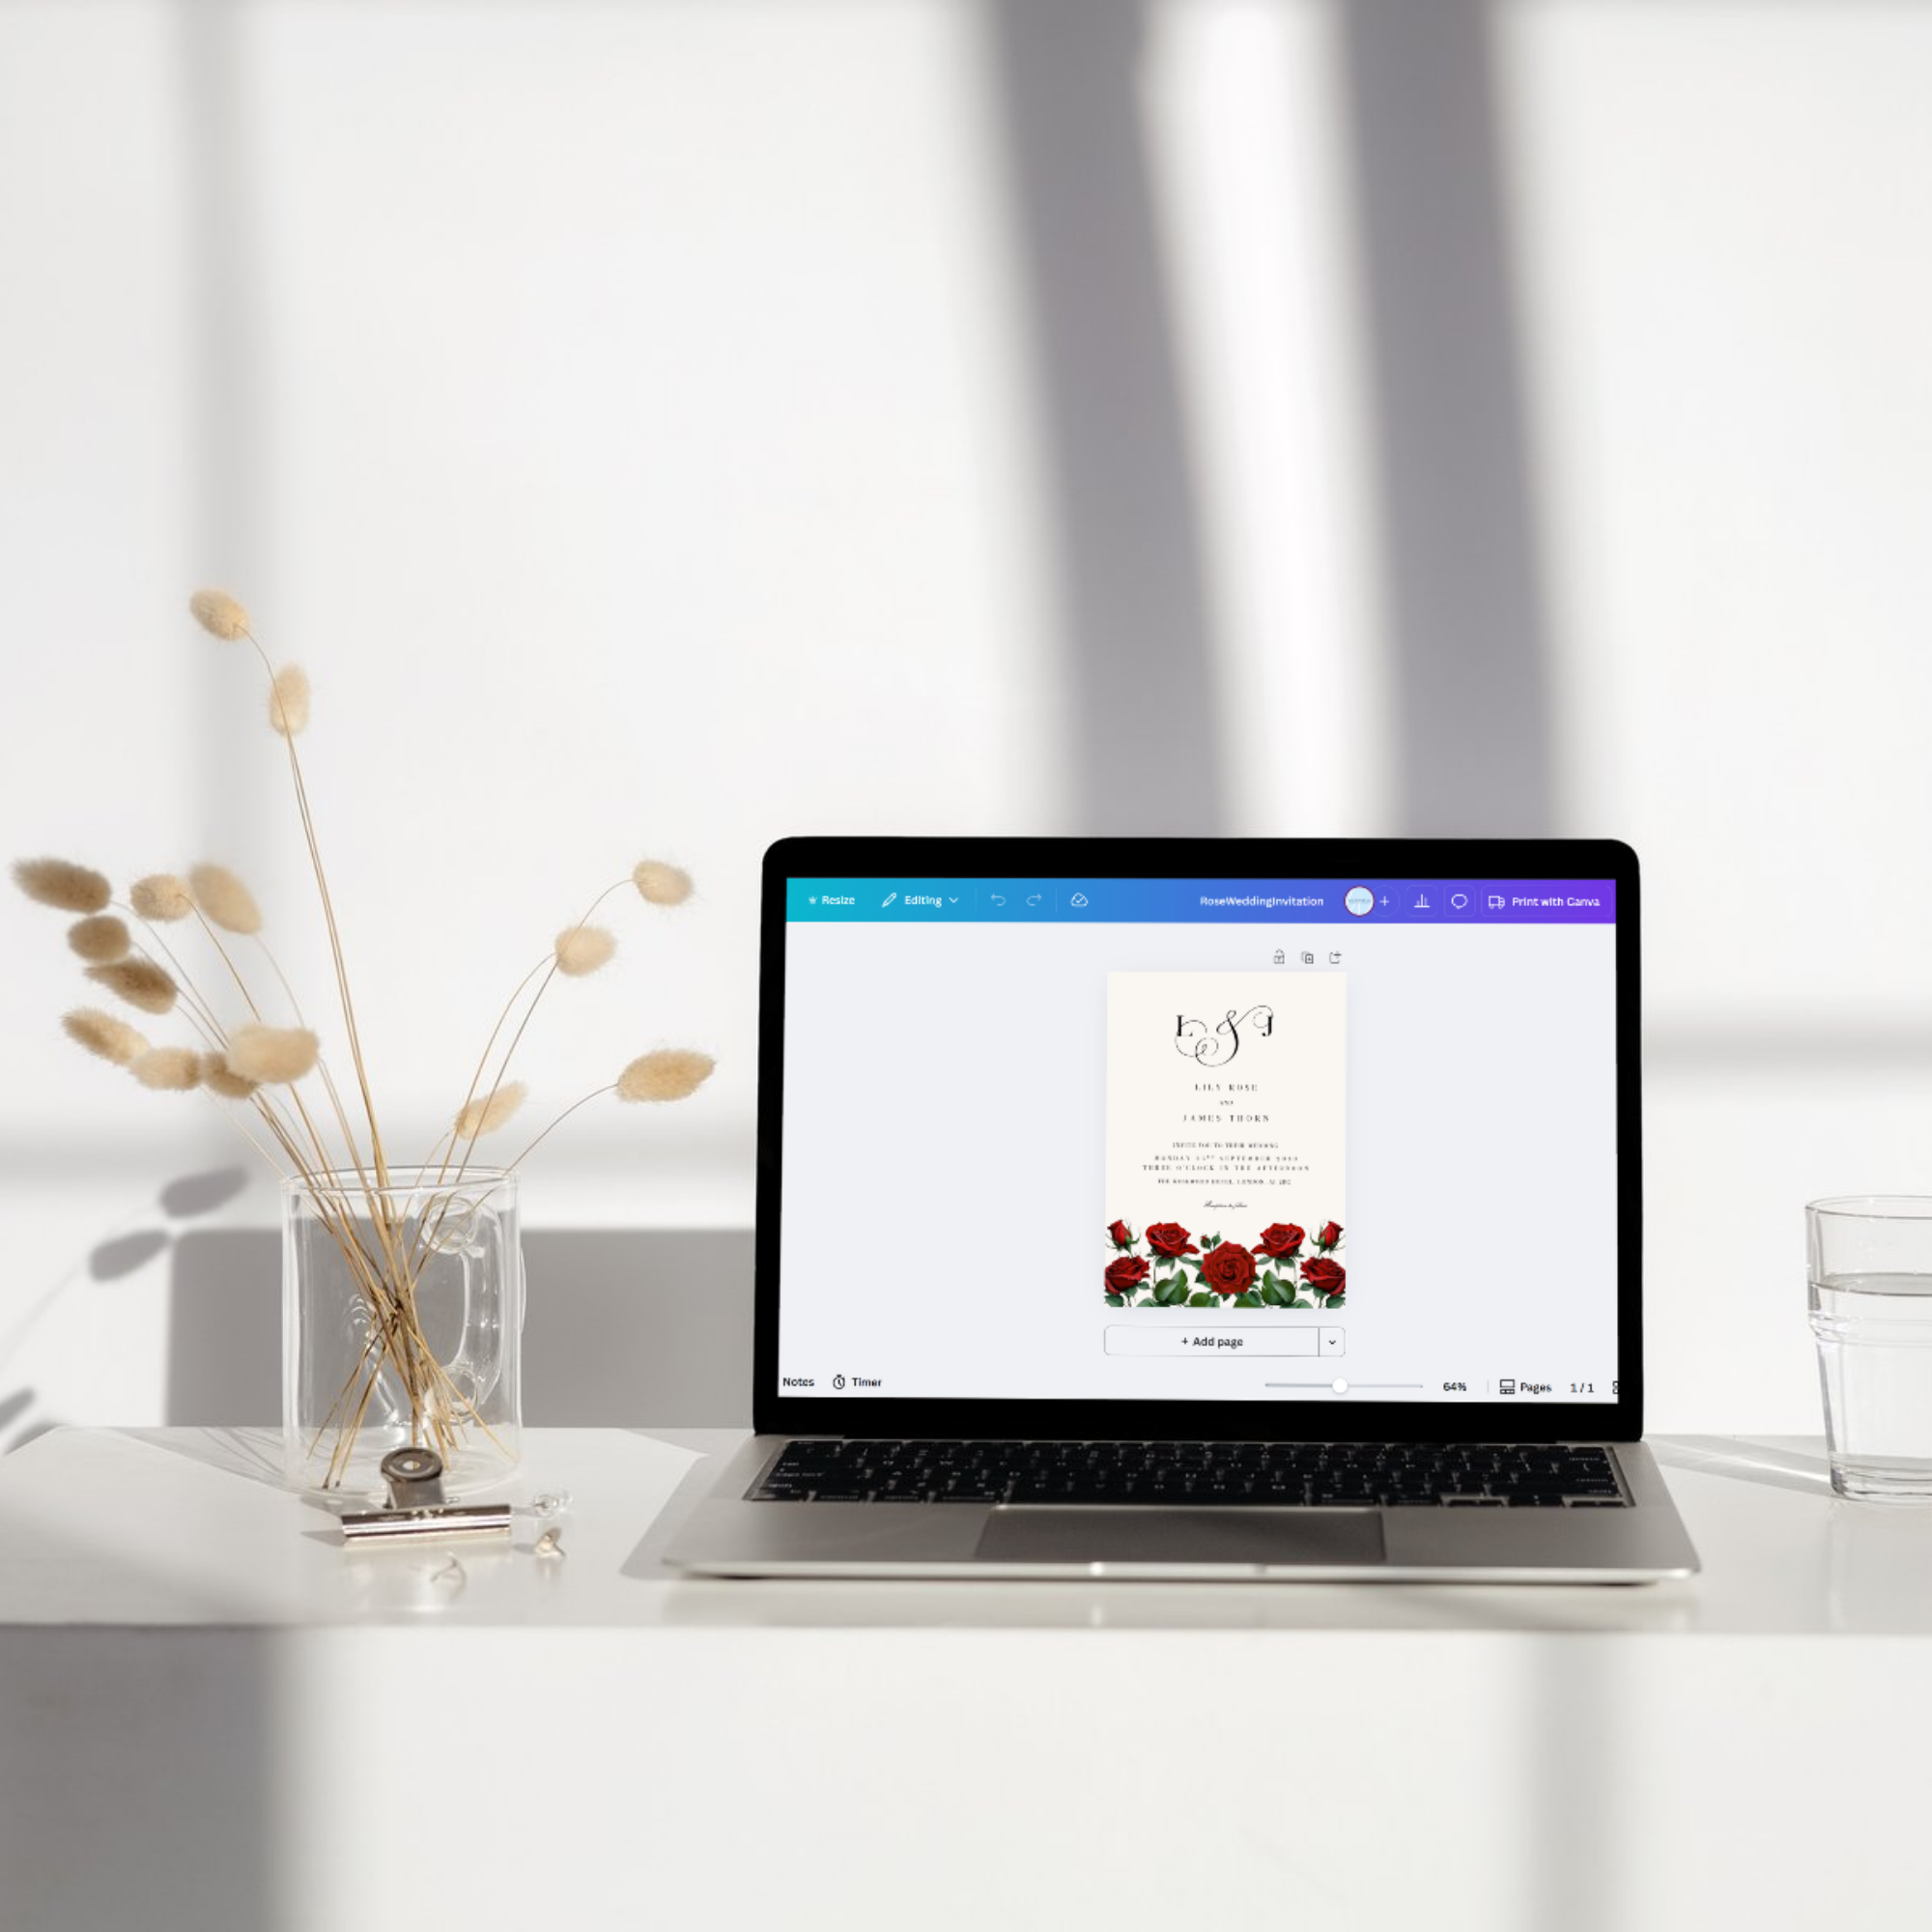
Printing your own wedding invitations at home can feel slightly daunting, but with the right setup, it’s a very achievable (and satisfying) DIY project. Whether you’re working with a Canva template or a downloadable design, home printing gives you flexibility, control and the chance to stay within budget.
This guide walks you through the process step by step, including the best paper to use, printers worth considering, and the most common mistakes to avoid.
Step 1: Prepare Your Design for Printing
Before you think about paper or printers, make sure your invitation design is fully ready.
Check that:
all names, dates and locations are correct
spelling and punctuation have been double-checked
font sizes are readable (especially lighter or script fonts)
If you’re using Canva, download your design as a PDF Print file. This format keeps text sharp and colours consistent when printing.
If your design includes bleed (colour or design elements that run to the edge), make sure bleed and crop marks are enabled when downloading.
Step 2: Choose the Best Paper for Printing Wedding Invitations
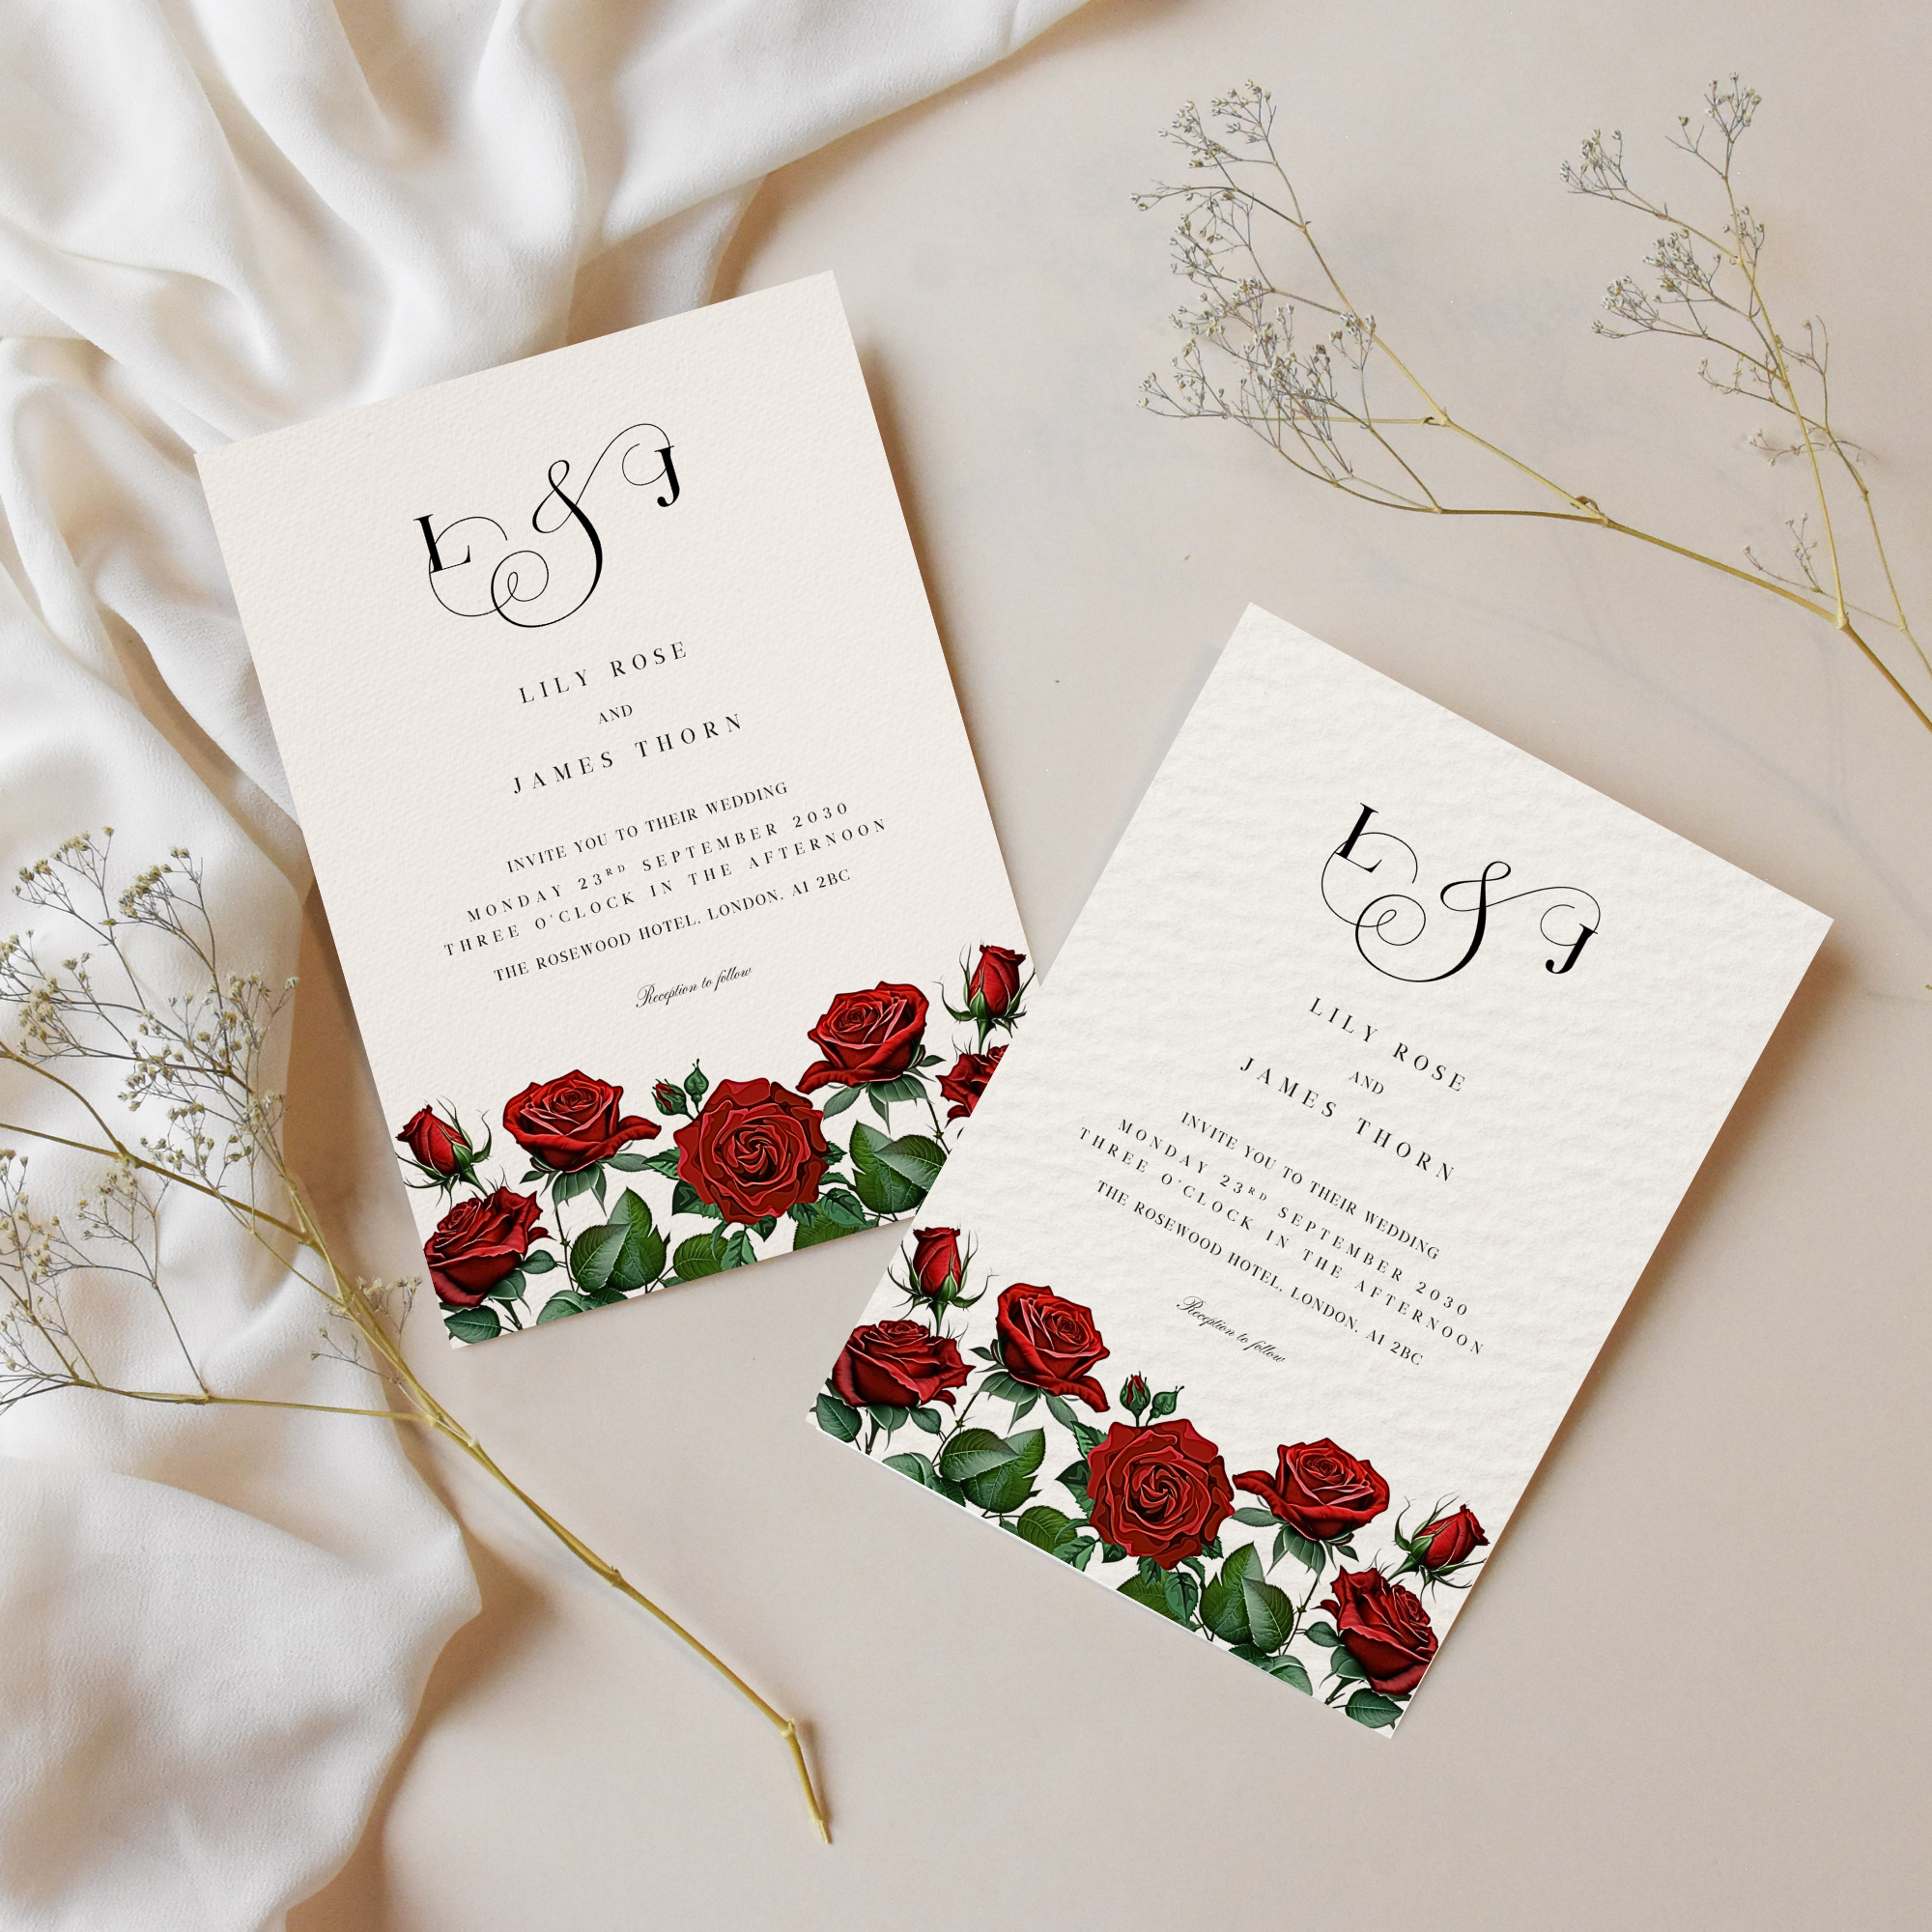
Paper choice makes a bigger difference than most people expect. Even a simple design can look premium on the right stock.
Recommended Paper Types
Cardstock (250–350gsm)
This is the most popular option for DIY wedding invitations. It feels sturdy and professional without being difficult to print on.
Matte cardstock
Ideal for modern or minimalist designs. Matte paper reduces glare and makes text easy to read.
Textured cardstock (linen, cotton or laid)
Perfect for classic or romantic stationery styles. Always test print first, as texture can slightly soften fine details.
Recycled or eco paper
Great for relaxed or eco-conscious weddings. These papers often have a natural tone, so colours may print slightly warmer.
we recommend:
Craft Uk white card - heavyweight with a classic feel.
200 piece card - great for if you want to print in standard invitation size.
Paper Tips
Avoid glossy paper unless your printer specifically supports it
Check your printer’s maximum supported paper weight
Always order extra paper for test prints and mistakes
Step 3: Set Up Your Printer Correctly
You don’t need a professional printer to get good results, but settings matter.
Before printing:
select the correct paper type in printer settings
turn off “fit to page” or automatic scaling
choose the highest print quality available
Print one test invitation first and check colour, alignment and sharpness before printing the full batch.
Best Printers for DIY Wedding Stationery
Inkjet printers are usually the best choice for home stationery printing, as they handle thicker paper and colour designs better than laser printers.
What to Look For
rear or straight paper feed (better for thick cardstock)
good colour accuracy
compatibility with heavier paper weights
Popular DIY-Friendly Options
Canon PIXMA series
Epson EcoTank printers
HP Envy or OfficeJet models
If your invitations are text-only and black-and-white, a laser printer can work well, but for most wedding stationery, inkjet offers more flexibility.
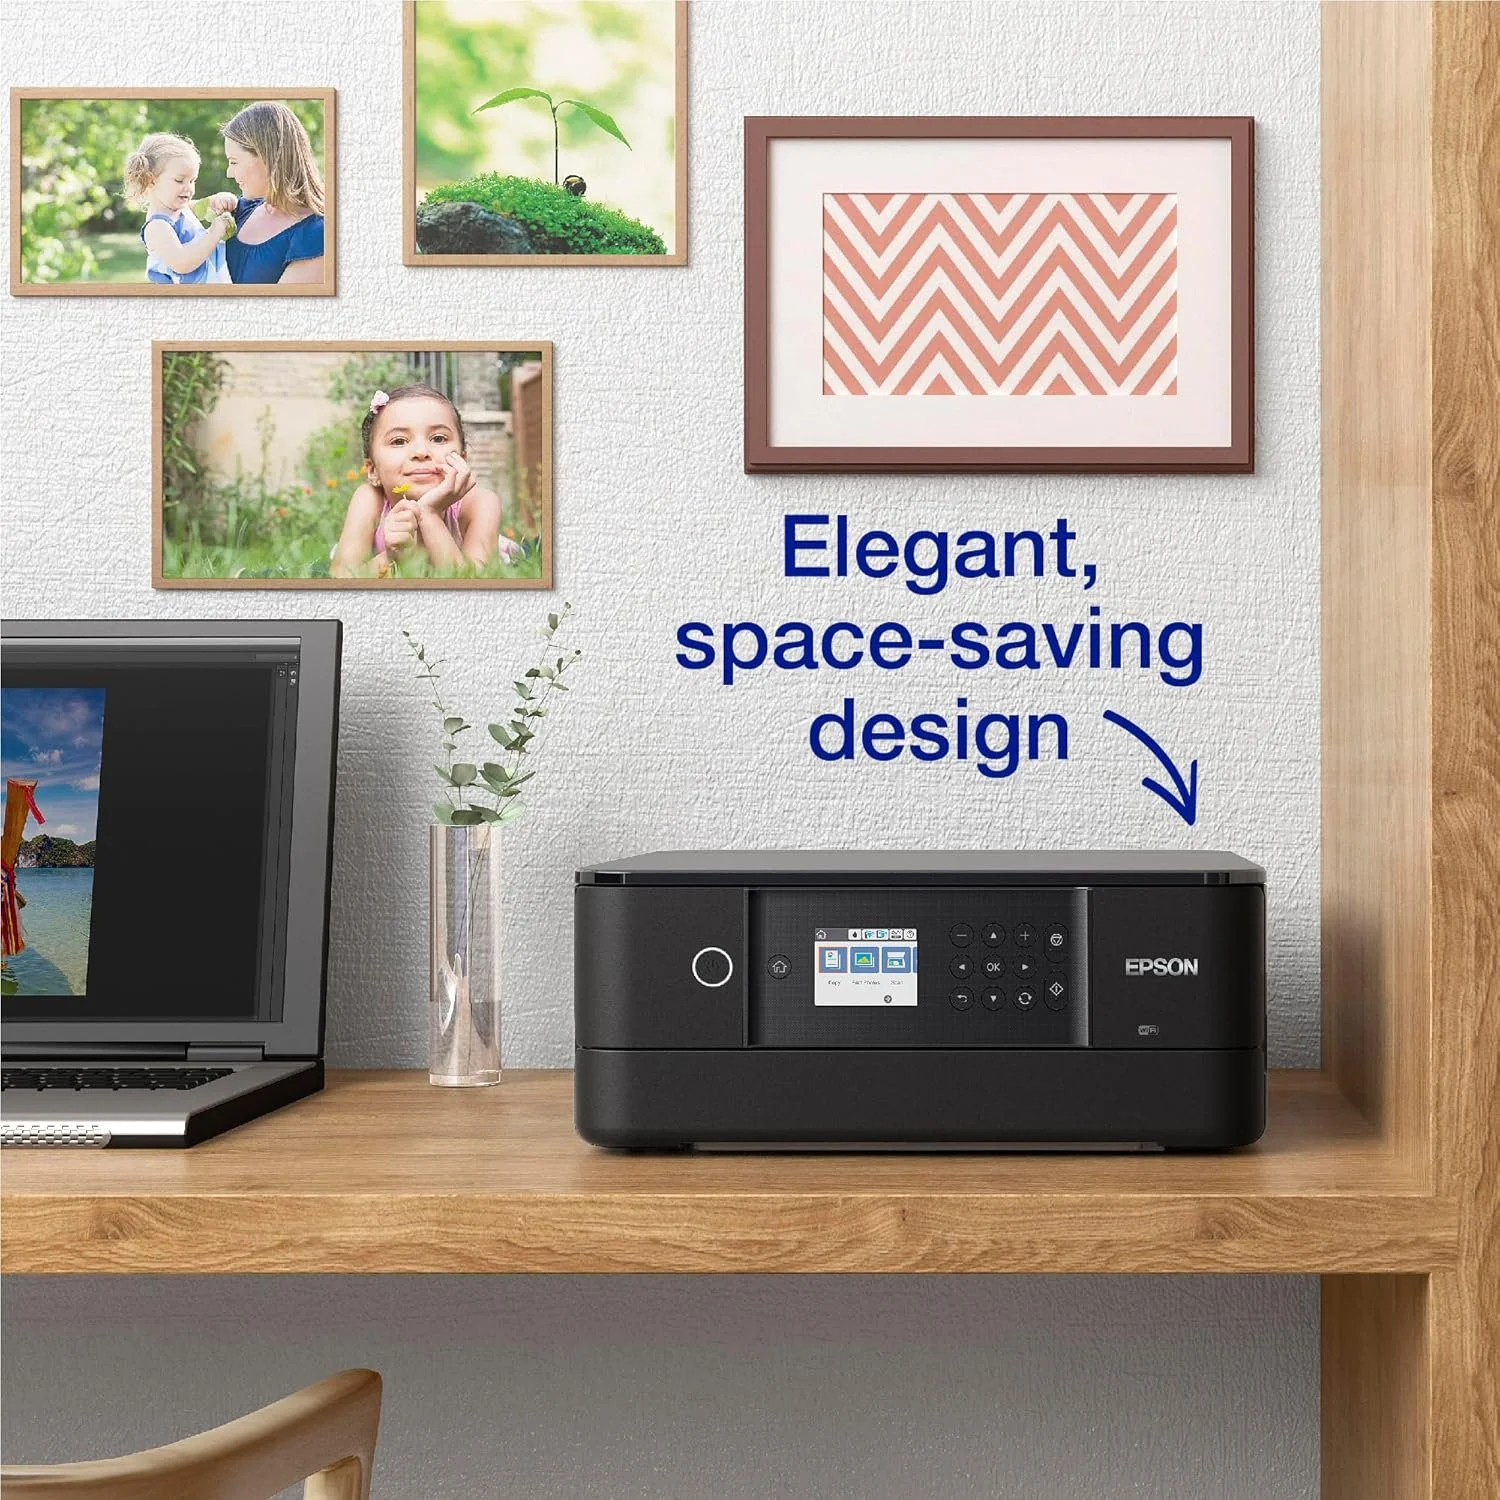
we recommend:
Epson Expression Premium XP-6100 - ideal for colourful invitation designs
Canon PIXMA TS3750i - an excellent budget option.
Step 4: Print and Trim Your Invitations
Once you’re happy with your test print, move on to printing your full set.
Print slowly rather than all at once to avoid paper jams or ink smudging. Let each batch dry fully before stacking.
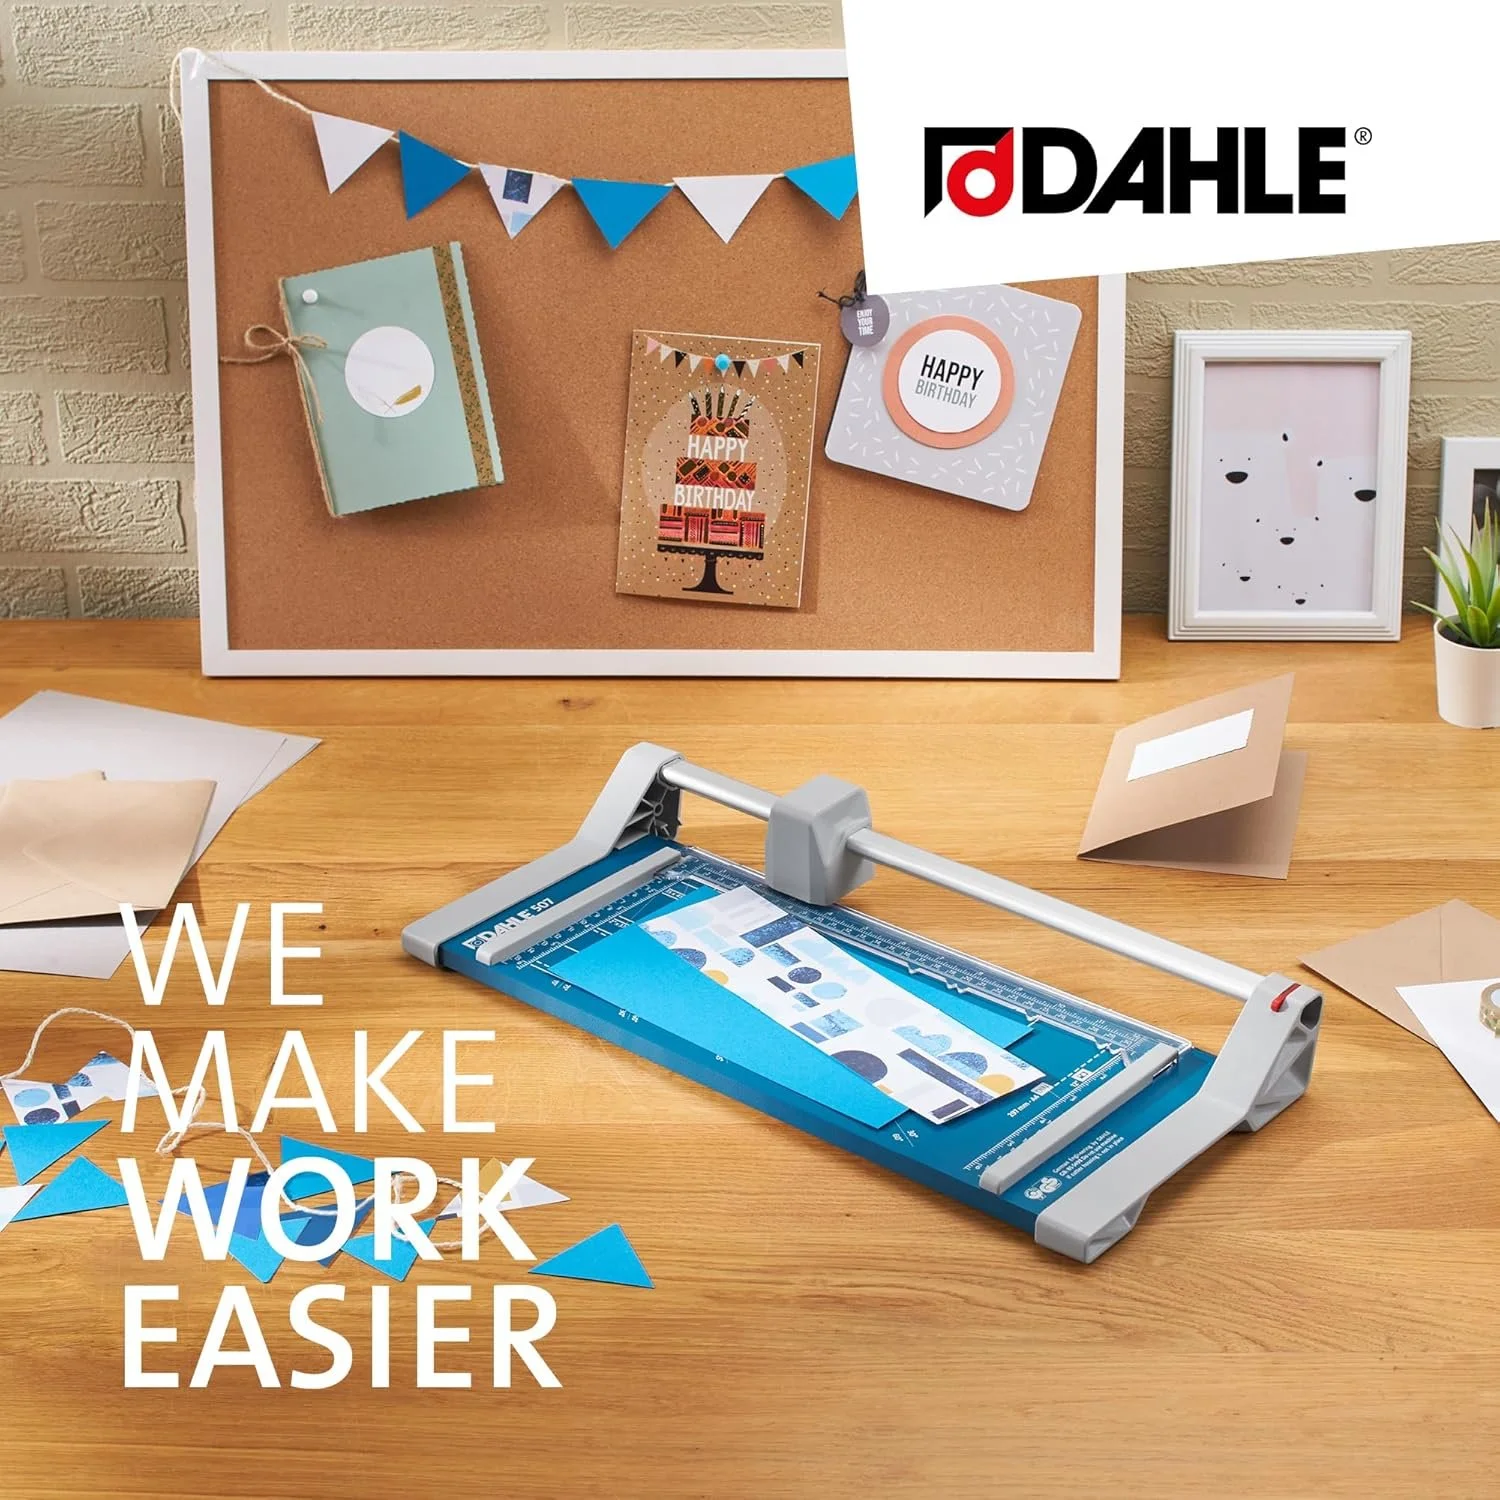
For trimming:
use a guillotine or rotary trimmer for clean edges
cut slowly and measure carefully
trim one invitation fully before repeating the process
If your design includes crop marks, trim just inside them for a professional finish.
we recommend:
Dahle Personal Guillotine 320mm – Highly rated and precise for trimming lots of invitations.
Firbon A4 Paper Cutter - Simple, budget-friendly cutter for occassional projects.
Step 5: Assemble and Store
After printing and trimming:
keep invitations flat
store them in a clean, dry place
avoid stacking too tightly until fully dry
If you’re adding envelopes, belly bands or wax seals, wait until printing is completely finished to avoid accidental damage.
Common Mistakes to Avoid When Printing Wedding Invitations
Skipping test prints
Always test. Colours, spacing and paper behave differently in real life than on screen.
Using paper that’s too thick for your printer
Check your printer’s specifications to avoid jams or uneven printing.
Ignoring ink levels
Low ink can cause streaks or faded text. Replace cartridges before printing your full set.
Printing everything in one go
Printing in batches reduces the risk of smudging and mistakes.
Not ordering extra paper
Mistakes happen. Build in a buffer so you’re not caught short.
Is Home Printing Right for You?
Printing your own wedding invitations works best if:
you’re using simple, flat designs
you’re happy to spend a little time testing and trimming
you want flexibility and cost control
For foil, letterpress or large quantities, professional printing may still be the better option. But for many DIY brides, home printing strikes the perfect balance between quality and practicality.
Final Thoughts
Home printing your wedding invitations doesn’t need to be stressful. With the right paper, a reliable printer and a few test runs, you can create stationery that feels thoughtful, personal and beautifully put together.
Take your time, keep things simple, and remember that handmade doesn’t mean imperfect — it means considered.
Posts you might also like:
This checklist covers what you actually need, what’s optional, and what most couples can skip entirely.